Part 1: Taking an inventory
Take an inventory of what you have and what you need. There’s plenty of time to buy items or find work-arounds. The 3 main things to keep in mind when germinating milkweed seeds : Heat, Moisture, and Light. The species of milkweed that need to be cold stratified to break dormancy should already have had at least 30 days in the fridge.
There are complete seed starting kits with grow lights for sale now, not sure if they would have the heat mat.
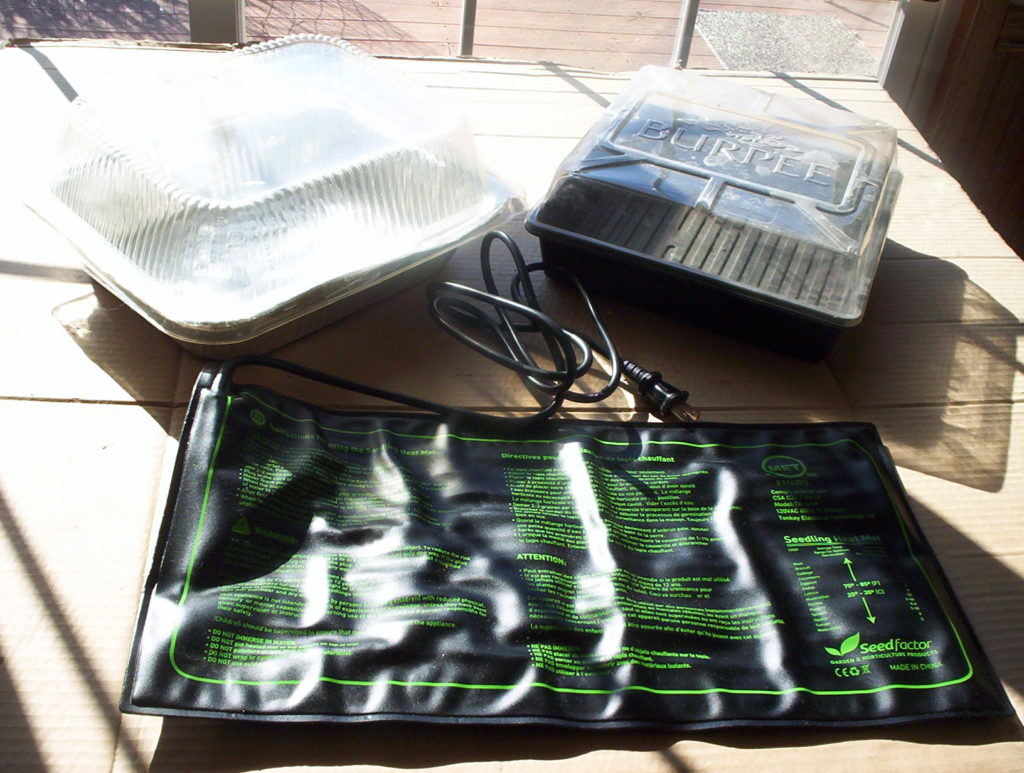
- Heat. You can pick up a Seed heat mat on Ebay for $15. This heats from the bottom which is especially necessary overnight when the overhead light is off. Milkweed seeds germinate very quickly when the temps are kept around 75-80 F.
- Moisture. Dollar General has foil pans with clear plastic lids for $1- $3 depending on size. Any clam-shell container with a clear top from the produce department, etc. , would work fine too – Free. As long as it closes and keeps the moisture in and the light can shine through. There are complete seed starting kits for any budget and they come with the tray and clear lids
- Light. Starting strong healthy milkweed plants cannot be done, this time of year, with the sun from the windows . A light source placed as close to the seeds (and growing seedlings) as possible without the leaves touching is necessary. Originally I used the 4′ shop lights with the fluorescent bulbs but now they make the 4′ shop lights with LEDs so there’s no bulbs to worry about breaking or replacing. Walmart had them on Sale for $15-20.
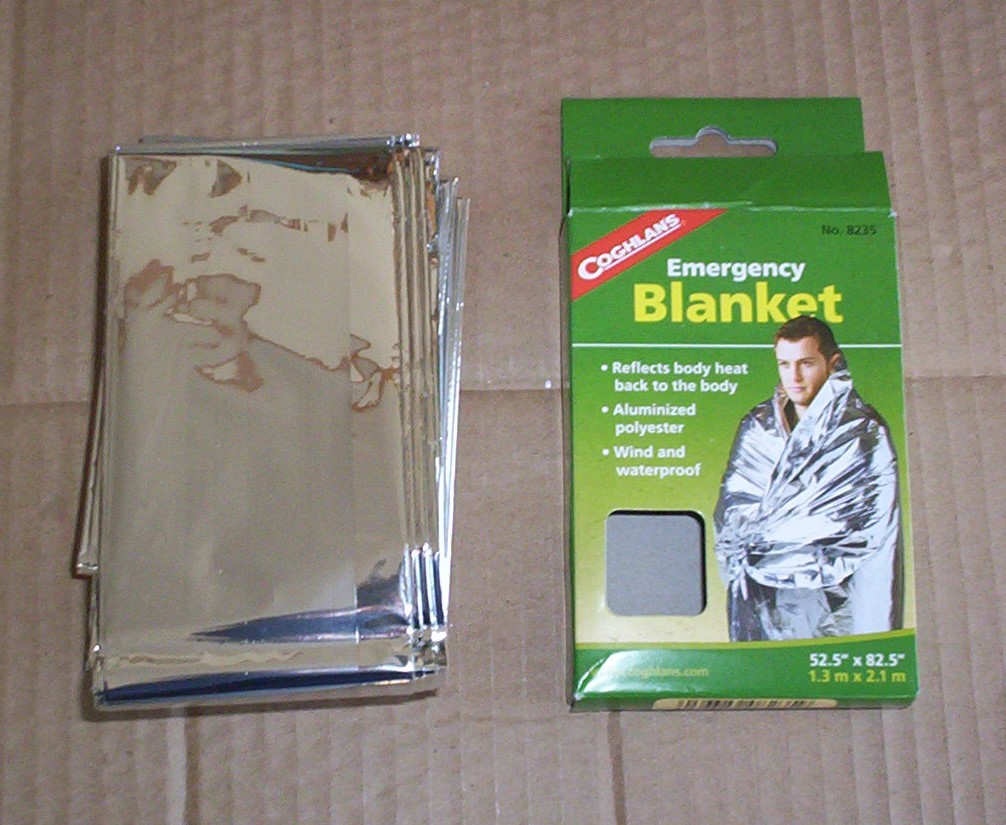
- Foil Mylar Sheets. (Optional). $3 for a 52″ x 82″ sheet wrapped around the lighted area holds in the heat and bounces the light back in toward the milkweed.
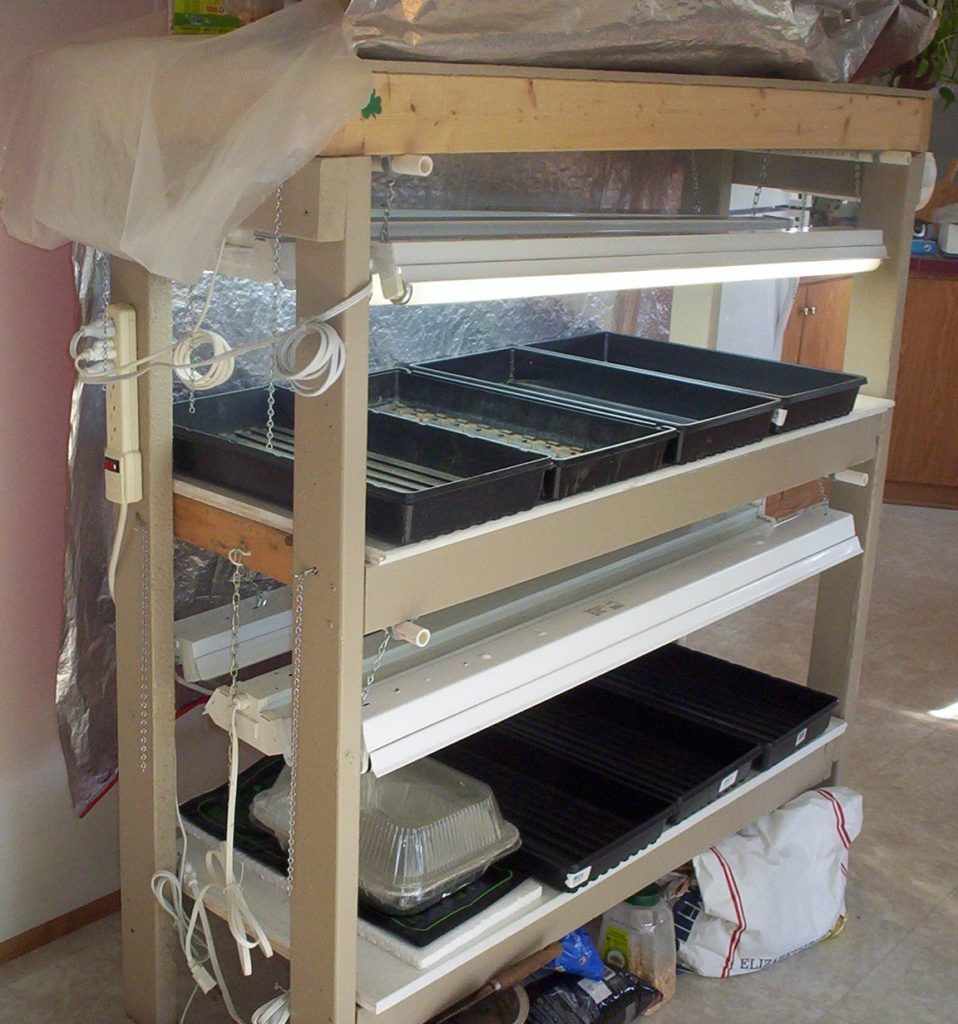
- Shelves to hold the lights and plants. A lot of money can be spent on shelving but the starting rack pictured below was made from leftover 2×4’s and scrap wood. Not everyone will need or want this large a set up. This is one area where there’s plenty of room for a work-around. I’d love for you to share your photos of what you’ve come up with. 🙂
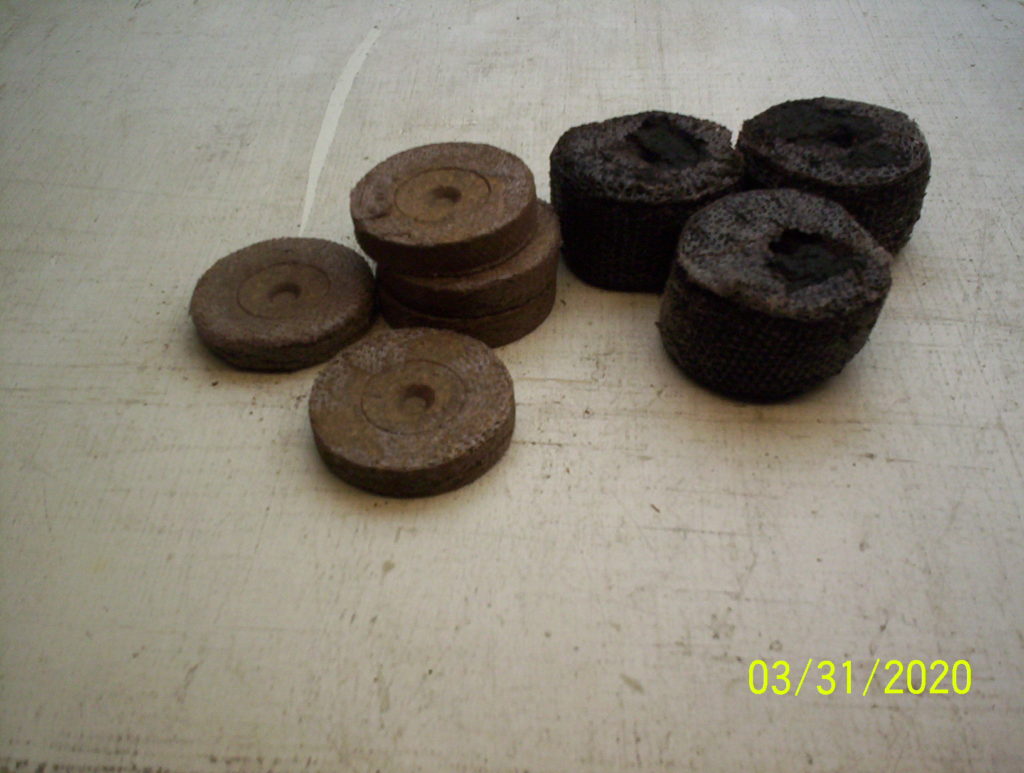
- Expandable Peat Pellets (Jiffy seed starter plugs 50 for $10.75) or shallow seed tray cells. There are complete seed starter kits to fit any budget that include the container with clear lid. Experiment with what works best for you. There are dozens of ways to go about this. I’ll walk you through 3-4.
- Potting soil. It’s hard to find a potting soil without chemical fertilizer. The young Milkweed seedlings do not need fertilizer but if that’s all that’s available, use what you have. Most brands have a seed starting mix. I use 100 % coco coir to germinate the seeds then transplant them into 12-18 ounce cups using Kreider’s All purpose potting mix. The outdoor milkweed gardens were created using inexpensive mushroom soil 4-6″ deep on top of corrugated cardboard directly over the grass. This smothers the grass and weeds and the cardboard composts.
- Pots or cups to transplant sprouts. Any pot that is deeper than wide. Some species of Milkweed have a tap root that goes straight down.
- A 12 -18 oz plastic cup works well because it’s deep enough to accommodate the growing roots and the cup can be broken away from the root ball when transplanting which avoids unnecessary jostling of the roots. Every species I’ve started so far has been transplanted from these cups and continued to grow into a healthy plant.
- Biodegradable cups made from organic mater (sold in packs from $10 – $20) are convenient because they can be planted right into the ground without removing it from the cup. I haven’t used anything but toilet paper tubes to know if they do actually break down but peat cups too seem like a good albeit expensive option.
Drill a few holes into the bottom of the cups for drainage.
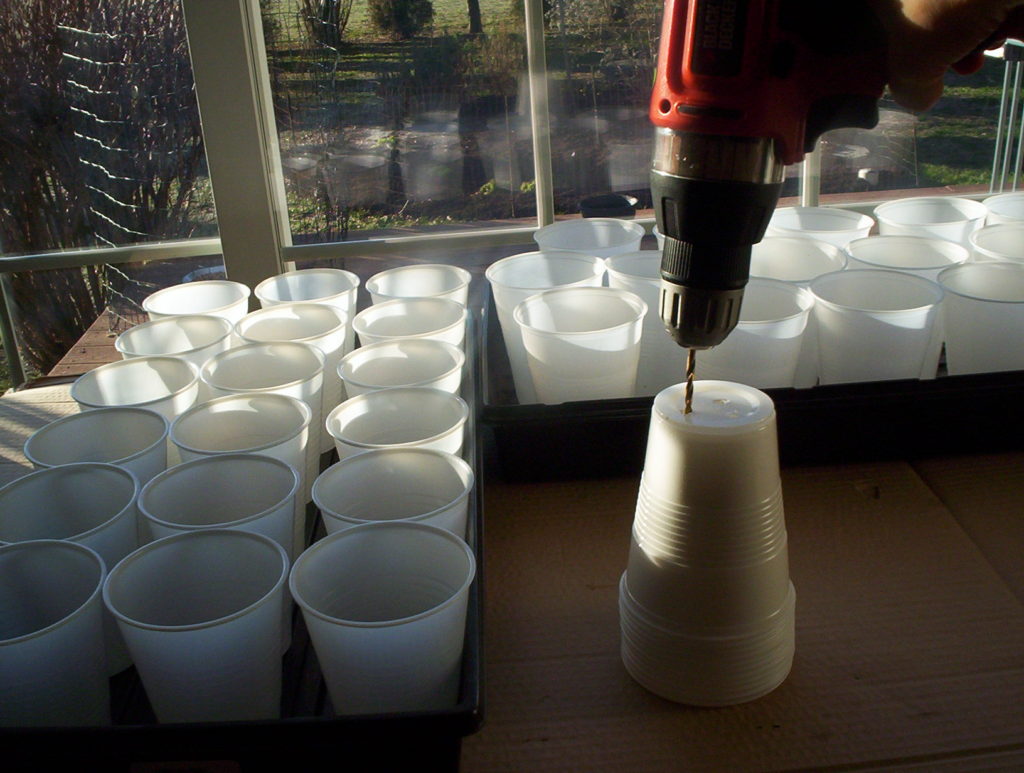
- Plant flats/trays. How many individual plants you are starting will determine how many trays you will need. Approx. 16-18 cups will fit per tray. Cons: The rounded cup bottoms makes them unstable if the trays are moved. SOLO brand now makes a square bottom 18 oz. cup which is fast becoming my favorite for personal use.
- The seed kits already come with a tray and lid.
Part 2 is when we get to play in the dirt and actually get some Milkweed seeds germinating. 🙂 At this point things move fast so it’s good to have everything that you’ll need handy. There are many methods for germinating milkweed seeds. I’ll show you a few. Experiment with others. Find what works for you and let’s grow Milkweed!
Great tutorial Cindy! Using the Dixie cups is a wonderful way to give the plants enough room to spread out. I never would have thought of using them. Nor would I have thought of drilling the holes in the bottom lined up in a stack. I’m going to give that a try. Thanks
Hi Dorothy,
It’s a good starting place. There are many ways to germinate milkweed seeds and get the seedlings started indoors. The cups are very inexpensive but with the round bottoms they tend to fall over easily when moving the trays. Thank you for writing 🙂 Have a great day, Cindy
Do you think it’s possible to keep the plant indoors under grow lights?
Hi Nathan, Are you thinking of having them as houseplants? It might depend on the the size pot you keep them in and the way the root system of that species develops. I have brought milkweed in over the winter and used the grow lights. I’ve always put them back outside as soon as the weather allowed. What species are you considering? Cindy
Thank you for the information you’ve provided. It’s invaluable.
Good morning Antonia, so glad to hear it. There’s dozens of ways to go about germinating seeds indoors. Experiment with a few and find out which works best for you. 🙂 Happy Gardening 🙂 Cindy